Instant Pot Chicken Breast Recipes Fast and Easy are a lifesaver for busy weeknights or unexpected guests.
These recipes offer a delightful combination of juicy chicken and vibrant flavors, all while being incredibly simple to prepare.
I first discovered the magic of the Instant Pot during a particularly hectic summer, when quick meals became essential.
With just a few ingredients and minimal effort, you can create a satisfying dish that pleases the whole family.
The History and Cultural Significance
• Instant Pot Chicken Breast Recipes trace their origins to the growing trend of pressure cooking that gained popularity in the mid-20th century.
• The introduction of the Instant Pot in the 21st century revolutionized home cooking, making it easier to prepare meals quickly.
• In American households, chicken recipes have traditionally been a staple, often symbolizing comfort and home-cooked love.
• While many variations exist, the use of chicken breasts in these speedy recipes has become a beloved standard due to their versatility and ease of cooking.


Recipe Overview
Nutritional Information (per serving)


Ingredients


Essential Equipment Guide
Instant Pot: This multi-functional appliance is crucial for achieving tender, juicy chicken in a fraction of the time. Look for models with a reliable pressure release mechanism and a sauté function for added versatility.
Meat Thermometer: Ensuring your chicken is cooked to the perfect internal temperature is essential for both flavor and safety. A digital meat thermometer provides quick and accurate readings, helping to prevent overcooking.
Cutting Board and Knife: A sturdy cutting board and a sharp knife are important for properly preparing your chicken. Opt for a non-slip cutting board for safety and a chef’s knife for efficiency in chopping.


Preparation Methods
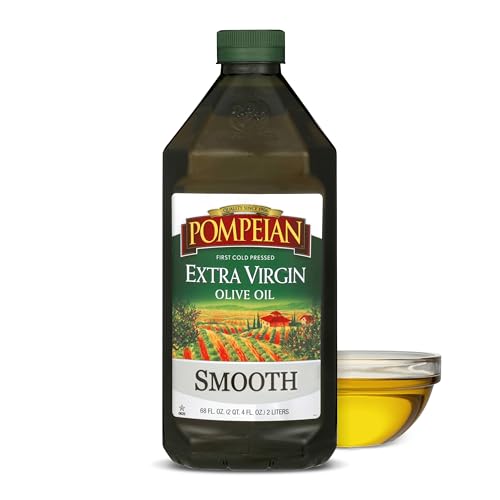
Sautéing: This technique involves quickly cooking ingredients over high heat to enhance flavors. Sautéing the chicken in olive oil before pressure cooking helps to develop a rich, savory crust.
Pressure Cooking: This method uses steam to cook food quickly and evenly. Understanding the pressure release process—natural vs. quick release—will help you achieve the desired texture for your chicken.
Resting: Letting the chicken rest after cooking allows the juices to redistribute, ensuring a moist and flavorful result. Aim for a resting period of about 5 minutes before slicing.


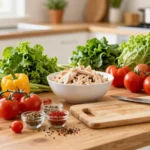
Step 1: Prepare Ingredients

Gather all your ingredients before you start cooking.
This includes chicken breasts, olive oil, garlic powder, chicken broth, soy sauce, and black pepper.
Make sure everything is measured and ready to go.
Having your ingredients prepped will streamline the cooking process.


Step 2: Season the Chicken

Sprinkle the garlic powder and black pepper evenly over both sides of the chicken breasts.
Then, drizzle olive oil over the chicken to help the spices adhere.
Massage the spices and oil into the meat for better flavor penetration.
This step will ensure your chicken is well-seasoned throughout.


Step 3: Sauté the Chicken

Turn on the Instant Pot and select the sauté function.
Add the seasoned chicken breasts and sear them for about 2-3 minutes on each side until golden brown.
This step adds flavor and color to the chicken.
Make sure not to overcrowd the pot; cook in batches if necessary.


Step 4: Add Broth and Soy Sauce

Once the chicken is browned, pour in the chicken broth and soy sauce.
Use a wooden spoon to scrape up any browned bits from the bottom of the pot; this adds extra flavor to the sauce.
Ensure the chicken is submerged in the liquid for even cooking.
This step is crucial for creating a flavorful sauce during pressure cooking.


Step 5: Seal and Cook

Close the Instant Pot lid and ensure the valve is set to sealing.
Select the manual or pressure cook setting and set the timer for 10 minutes.
The pot will take a few minutes to come to pressure before cooking begins.
This is the key step to achieving perfectly cooked chicken quickly.
Step 6: Quick Release Pressure

Once the cooking time is complete, carefully switch the valve to venting to release the pressure quickly.
Be cautious of the steam; use a utensil or kitchen towel to protect your hand.
Wait until the float valve drops before opening the lid.
This step ensures the chicken retains its juiciness without overcooking.


Step 7: Check Doneness

Using a meat thermometer, check the internal temperature of the chicken.
It should read at least 165°F (75°C) for safe consumption.
If the chicken is not fully cooked, seal the pot and cook for an additional 2-3 minutes.
This step is crucial to ensure your chicken is safe and perfectly cooked.
Step 8: Rest and Slice

Remove the chicken breasts from the pot and place them on a cutting board.
Allow them to rest for 5 minutes to let the juices redistribute.
After resting, slice the chicken into strips or cubes for serving.
This final step enhances the chicken’s flavor and texture.
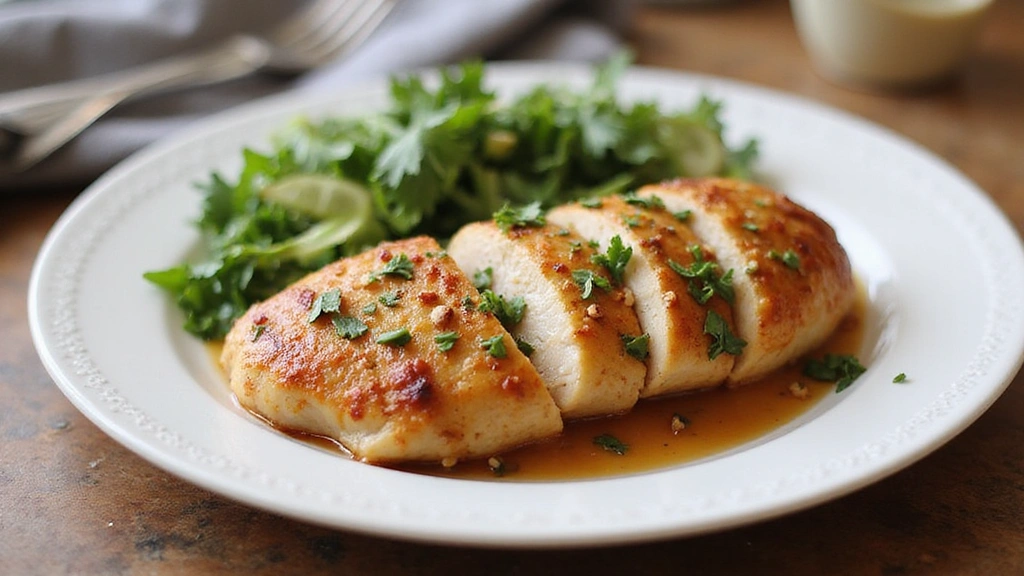
Step 9: Serve with Sauce

Pour the remaining sauce from the Instant Pot over the sliced chicken.
Garnish with fresh parsley for a pop of color and flavor.
Serve immediately with your choice of sides.
This presentation elevates the dish and makes it visually appealing.
Critical Timing and Temperature Guide
Pressure Cooking Time: Cook the chicken breasts for 10 minutes at high pressure. Look for an internal temperature of 165°F to confirm doneness. A common mistake is to undercook the chicken, so always check with a thermometer.
Resting Time: Allow the chicken to rest for at least 5 minutes after cooking. This lets the juices redistribute, preventing dryness. Skipping this step can lead to less flavorful and drier meat.
Sautéing Duration: Sauté the chicken for 2-3 minutes on each side until golden brown. This step is important for flavor development. Overcooking during this process can lead to tough chicken.
Pro Tips for Instant Pot Chicken Breast Recipes Fast And Easy
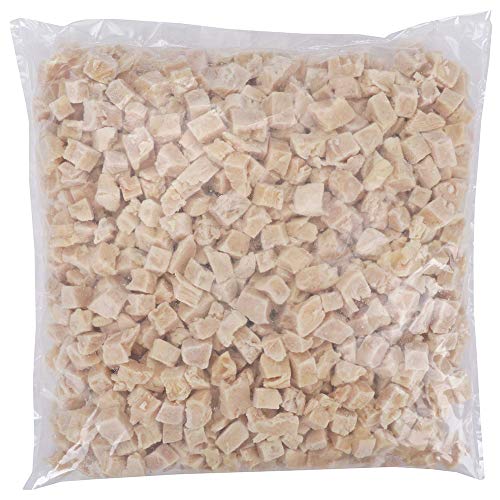
• Ingredient Selection: Choose high-quality, fresh chicken breasts for the best flavor and texture. Organic or free-range options often yield superior results.
• Preparation Secret: Marinating the chicken for 30 minutes before cooking can infuse additional flavor and moisture, enhancing the final dish.
• Temperature Management: Ensure the chicken is at room temperature before cooking; this helps it cook evenly and prevents tough texture.
• Texture Enhancement: For a more tender chicken, consider brining the breasts in a saltwater solution for a few hours before cooking.
• Flavor Layering: Incorporate herbs and spices into the broth for a more dynamic flavor; thyme, rosemary, and paprika work beautifully.
• Make-Ahead Strategies: Cook and shred the chicken in advance, then store it in an airtight container for up to 3 days, ready for quick meals.
• Restaurant-Quality Finishing Touches: Drizzle a little lemon juice or balsamic glaze over the chicken just before serving for brightness.
• Equipment Optimization: Use a non-stick spray or oil on the Instant Pot to prevent sticking, especially during sautéing.
Troubleshooting Common Issues
• Chicken Too Dry: This can happen if the chicken is overcooked or not properly rested. Ensure you check the temperature and allow resting after cooking to keep it juicy.
• Flavor Too Bland: If the chicken lacks flavor, consider enhancing your seasoning or adding more flavorful ingredients to the broth, like onions or herbs.
• Burn Notice on Instant Pot: If you see a burn notice, it may be due to not enough liquid. Always ensure there’s enough broth to create steam during pressure cooking.
• Chicken Not Fully Cooked: If the chicken isn’t done after 10 minutes, seal and cook for another 2-3 minutes. Always check with a thermometer.
• Sticking to the Pot: If the chicken sticks, consider using more oil during sautéing and ensure to deglaze the pot well before pressure cooking.


Variations and Regional Differences
• Italian Herb Chicken: Incorporate Italian herbs like basil, oregano, and thyme into the seasoning mix for a Mediterranean twist. Serve with pasta or a salad for a complete meal.
• Spicy Chipotle Chicken: Add chipotle in adobo sauce to the broth for a smoky, spicy flavor profile. This variation pairs well with rice and beans.
• Teriyaki Chicken: Substitute soy sauce with teriyaki sauce for a sweet and savory variant. Serve with steamed vegetables for a balanced dish.
• Modern Interpretations: Experiment with flavors by adding coconut milk and lime for a Thai-inspired chicken or use curry spices for an Indian twist.


Food Science Behind the Recipe
• Maillard Reaction: This chemical reaction between amino acids and reducing sugars gives browned food its distinctive flavor. Sautéing the chicken helps develop this flavor, making it more delicious.
• Pressure Cooking Mechanics: Pressure cooking raises the boiling point of water, allowing food to cook faster while retaining moisture. This method is particularly effective for chicken breasts, which can dry out with other cooking methods.
• Resting and Juice Redistribution: Allowing meat to rest after cooking helps the fibers relax and juices redistribute, resulting in a more succulent bite.
Frequently Asked Questions
What’s the most common mistake people make when preparing Instant Pot Chicken Breast? The top mistake is overcooking the chicken, which can lead to dryness. Always check the internal temperature to avoid this.
Can I prepare components of this dish in advance? Yes, you can season and marinate the chicken a day ahead, storing it in the fridge for enhanced flavor.
How do I adapt this recipe for dietary restrictions? For gluten-free needs, use tamari instead of soy sauce to maintain flavor without gluten.
What’s the best way to store and reheat leftovers? Store cooked chicken in an airtight container in the fridge for up to 3 days. Reheat in the microwave until warmed through, adding a splash of broth to maintain moisture.
Can I freeze this dish? Yes, cooked chicken can be frozen in an airtight container for up to 3 months. Thaw in the fridge overnight before reheating.
What wine or beverages pair best with this dish? A light white wine, such as Sauvignon Blanc, complements the chicken’s flavors well. Alternatively, serve with iced tea or lemonade for a refreshing option.
How can I scale this recipe up for a crowd? Simply multiply the ingredients by the number of servings needed, but be cautious of the Instant Pot’s capacity; you may need to cook in batches.
What side dishes complement this recipe best? Serve with a fresh green salad, steamed vegetables, or rice pilaf to round out the meal.
How do professional chefs elevate this dish for restaurant service? Chefs often add a finishing sauce or garnish with microgreens or edible flowers for visual appeal and enhanced flavor.
Serving and Presentation Guide
• Traditional Presentation: Serve the chicken on a warm platter, drizzled with sauce and garnished with fresh parsley. This classic display emphasizes the home-cooked essence of the dish.
• Modern Plating Ideas: Use a large white plate to contrast the colors of the chicken and sauce. Arrange the chicken artfully and drizzle sauce in an artistic pattern.
• Accompaniment Suggestions: Pair with roasted vegetables or a vibrant salad, enhancing both flavor and nutrition.
• Special Occasion Presentation: For a festive touch, consider using a wooden board for a rustic look, serving alongside artisan bread and seasonal vegetables.


Conclusion
I hope you enjoy making this Instant Pot Chicken Breast recipe as much as I do.
It’s a simple yet flavorful dish that can fit into any busy schedule.
With just a few ingredients and minimal prep, you can impress your family and friends with a delicious meal.
Happy cooking and bon appétit!